
When it comes to commercial roofing solutions, TPO roofing installation has become a popular choice for commercial buildings due to its exceptional durability and energy efficiency. This comprehensive guide will walk you through how to install TPO roofing system components, helping property owners understand the complete process from preparation to final inspection. Whether you’re researching how to apply TPO roofing or need detailed installation guidance, this step-by-step approach covers everything you need to know.
What is TPO Roofing and Why It’s Popular
TPO stands for thermoplastic polyolefin, a single-ply membrane roofing material that combines polypropylene and ethylene-propylene rubber. This innovative roofing material has gained significant traction among business owners and property managers who need cost-effective solutions for their commercial properties.
The thermoplastic nature of TPO allows for heat-welded seams that create a watertight seal, making it an excellent choice for flat and low-slope commercial roofing applications. Understanding how to install TPO roofing membrane properly is crucial for achieving these superior performance characteristics. Unlike traditional built-up roofing systems, TPO offers ease of installation while maintaining exceptional durability.
Key Benefits of TPO Roofing Systems
Installing a TPO roofing system provides numerous advantages for commercial property owners:
- Energy Efficiency: TPO’s reflective white surface significantly reduces cooling costs by reflecting UV rays and heat away from the building
- Durability: High resistance to puncture, impact damage, and chemical exposure ensures long-lasting protection
- Cost-Effectiveness: Lower material and installation costs compared to other single-ply membrane roofing options
- Eco-Friendly: TPO is recyclable and contributes to improved building energy efficiency
- Longevity: Properly installed TPO roofs typically last 20-30 years with minimal maintenance
The blend of polypropylene materials makes TPO roofing resistant to ozone, algae, and bacterial growth, while its flexibility allows it to withstand thermal cycling without premature cracking.
Preparing for TPO Roofing Installation
Before beginning any TPO installation project, thorough preparation is crucial for achieving a successful TPO roofing installation. A qualified roofing contractor should conduct a comprehensive assessment of the existing roof structure and substrate conditions.
Essential preparation steps include:
- Structural evaluation to ensure the roof deck can support the new TPO roofing system
- Moisture inspection to identify any water damage or leaks in the current roofing material
- Surface preparation requirements assessment
- Material calculations to determine the amount of TPO membrane, fasteners, and adhesive needed
- Weather monitoring to ensure optimal installation conditions
The substrate must be clean, dry, and structurally sound before installation can begin. Any damaged decking should be repaired or replaced, and the surface should be free from debris, oil, or other contaminants that could affect adhesion.
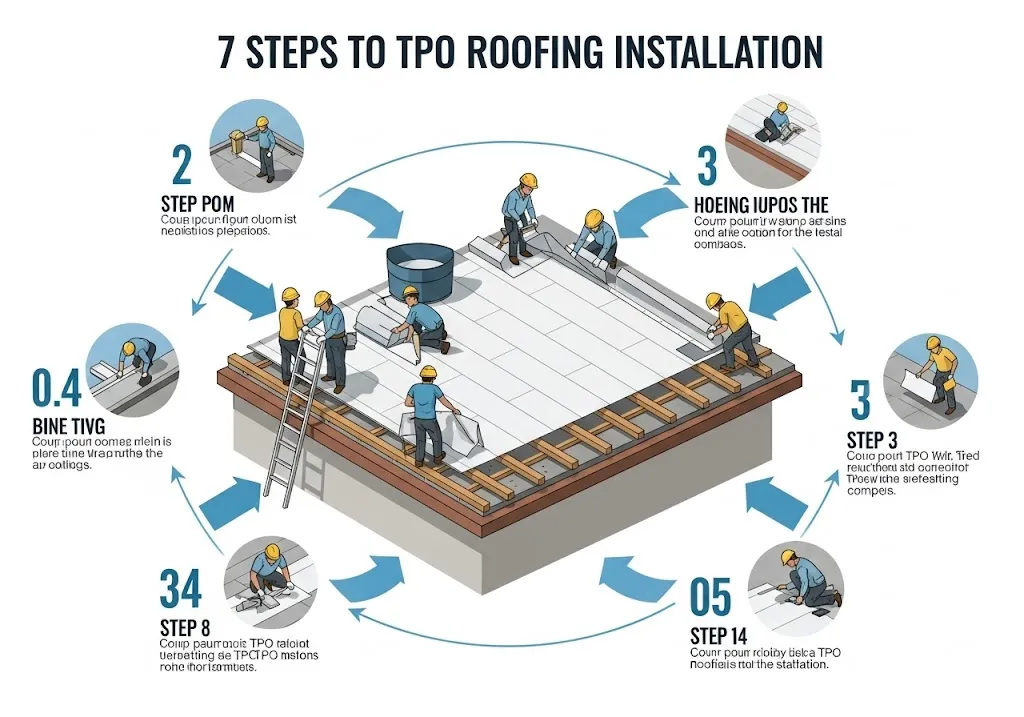
How to Install TPO Roofing: Step-by-Step Process
Learning how to install TPO roofing requires understanding each critical phase of the installation process. For those wondering how to install TPO roofing, the fundamental principles remain consistent regardless of language – proper preparation, precise execution, and quality control are essential. While professional installation is recommended, understanding these steps helps property owners make informed decisions about their roofing project.
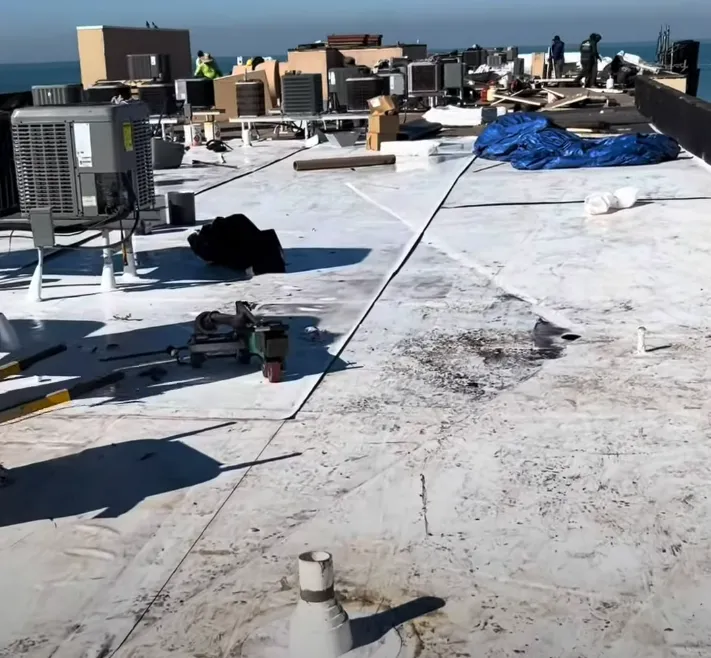
1. Clean and Inspect the Roof Surface
The first step in any TPO roofing system installation involves thoroughly cleaning and inspecting the roof surface. Remove all debris, dirt, and existing roofing materials if performing a complete roof replacement.
Conduct a thorough inspection of the substrate, looking for:
- Structural damage or deterioration
- Moisture infiltration
- Uneven surfaces that require leveling
- Penetrations that need special attention
Proper surface preparation ensures optimal adhesion and prevents future issues with the new roof installation.
2. Install Roof Insulation Boards
Installing appropriate insulation is crucial for energy efficiency and thermal performance. Common insulation options include:
- Polyisocyanurate boards for superior thermal resistance
- Expanded polystyrene for cost-effective insulation
- Extruded polystyrene for moisture resistance
The insulation boards should be mechanically fastened to the substrate according to the manufacturer’s specifications. Proper insulation installation contributes significantly to the building’s energy efficiency and helps reduce long-term operational costs.
3. Lay Out the TPO Membrane
Carefully position the TPO roofing membrane across the roof surface, ensuring proper alignment and minimizing waste. The membrane should be oriented to minimize the number of seams and provide optimal water drainage.
Key considerations during layout:
- Allow for thermal expansion and contraction
- Position seems away from high-traffic areas
- Ensure adequate overlap for welding
- Plan penetration locations carefully
Proper membrane layout is essential for creating a watertight seal and ensuring the longevity of the installation.
4. Fasten or Adhere the Membrane
TPO membranes can be installed using several attachment methods:
- Mechanically fastened: Using specialized fasteners through the membrane into the substrate
- Fully adhered: Using contact adhesive to bond the membrane to the substrate
- Ballasted: Weighing down the membrane with stone or pavers
The choice of attachment method depends on factors such as building height, wind loads, and local building codes. Mechanically fastened systems are often preferred for their reliability and cost-effectiveness.
5. Weld the Seams of the TPO Roofing Membrane
Creating strong, watertight seams is critical for successful TPO installation. Heat welding using specialized equipment creates molecular bonds between membrane sections.
Seam welding process:
- Clean the seam area thoroughly
- Align the membrane edges properly
- Apply consistent heat and pressure
- Test seam integrity immediately after welding
- Repair any defective seams before proceeding
Properly heat-welded seams are stronger than the membrane itself and provide long-lasting protection against water infiltration.
6. Install Flashing Around Edges and Penetrations
All roof penetrations, edges, and transitions require proper flashing to maintain the watertight seal. This includes:
- HVAC equipment penetrations
- Roof drains and scuppers
- Parapet walls and roof edges
- Pipe and conduit penetrations
Use compatible TPO flashing materials and follow the manufacturer’s specifications for proper installation. Pay special attention to detail work, as most roof leaks occur at penetrations and transitions.
7. Conduct a Final Inspection and Quality Check
After installation is complete, perform a comprehensive quality inspection:
- Visual inspection: Check for proper seam welding, flashing installation, and overall workmanship
- Water testing: Test critical areas for leaks
- Documentation: Record warranty information and maintenance requirements
- Clean-up: Remove all debris and ensure the roof area is clean
A thorough inspection ensures the TPO roofing installation meets quality standards and provides the expected long-lasting protection.
Common Mistakes to Avoid During TPO Roofing Installation
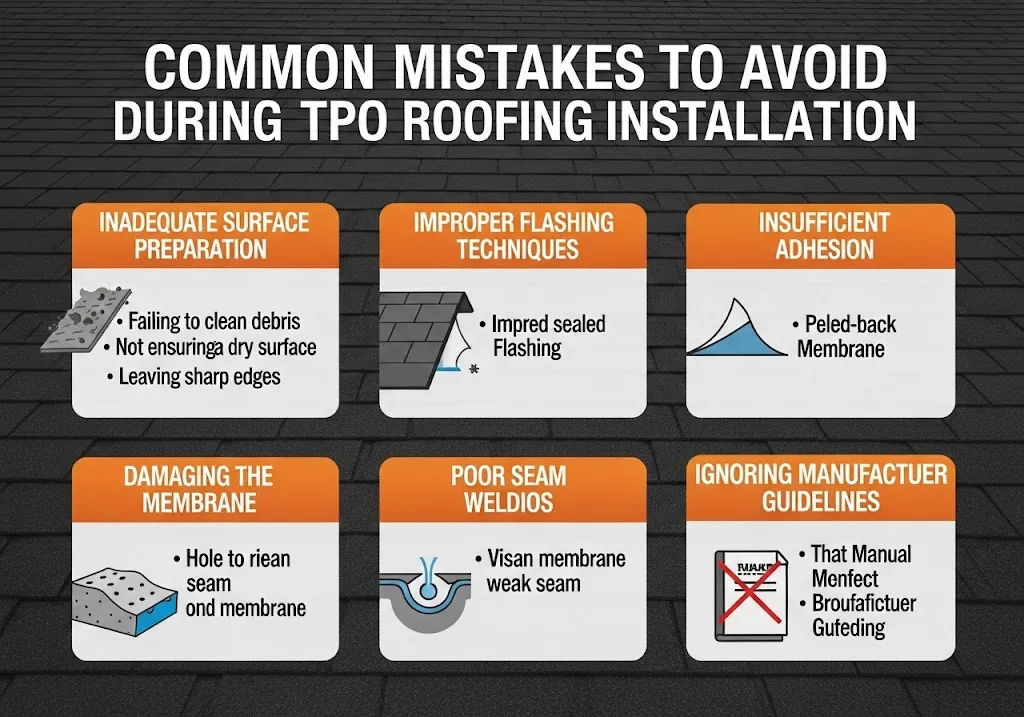
Understanding potential pitfalls helps ensure a successful installation:
- Inadequate surface preparation: Skipping proper cleaning and inspection can lead to adhesion failure
- Poor seam welding: Inconsistent heat or pressure results in weak seams prone to failure
- Insufficient fastening: Under-fastening can lead to membrane uplift during high winds
- Improper flashing: Poor detail work around penetrations is a common source of leaks
- Ignoring manufacturer specifications: Deviating from recommended procedures voids warranties
Working with experienced commercial roofing services helps avoid these common installation errors.
Maintenance and Longevity Tips for TPO Roofs
Proper maintenance extends the life of your TPO roofing system and maintains its energy efficiency benefits:
Regular maintenance tasks:
- Semi-annual visual inspections
- Cleaning debris from drains and gutters
- Checking and maintaining seam integrity
- Inspecting flashing and penetrations
- Addressing minor repairs promptly
With proper maintenance, a quality TPO roof installation can provide reliable protection for 20-30 years while maintaining its energy-efficient properties.
Roofing San Jose: Your Trusted Partner for TPO Roofing
For property owners seeking professional TPO roofing installation services, choosing the right contractor is essential for project success.
Why Choose Roofing San Jose for Your TPO Roofing Installation
Experienced roofing contractors bring several advantages to your roofing project:
- Expertise: Knowledge of proper installation techniques and local building codes
- Equipment: Access to specialized tools for seam welding and membrane installation
- Warranty: Professional installation typically includes comprehensive warranties
- Efficiency: Skilled crews complete installations quickly and safely
- Quality: Professional results that meet or exceed manufacturer specifications
Cost Considerations for TPO Roofing Installation
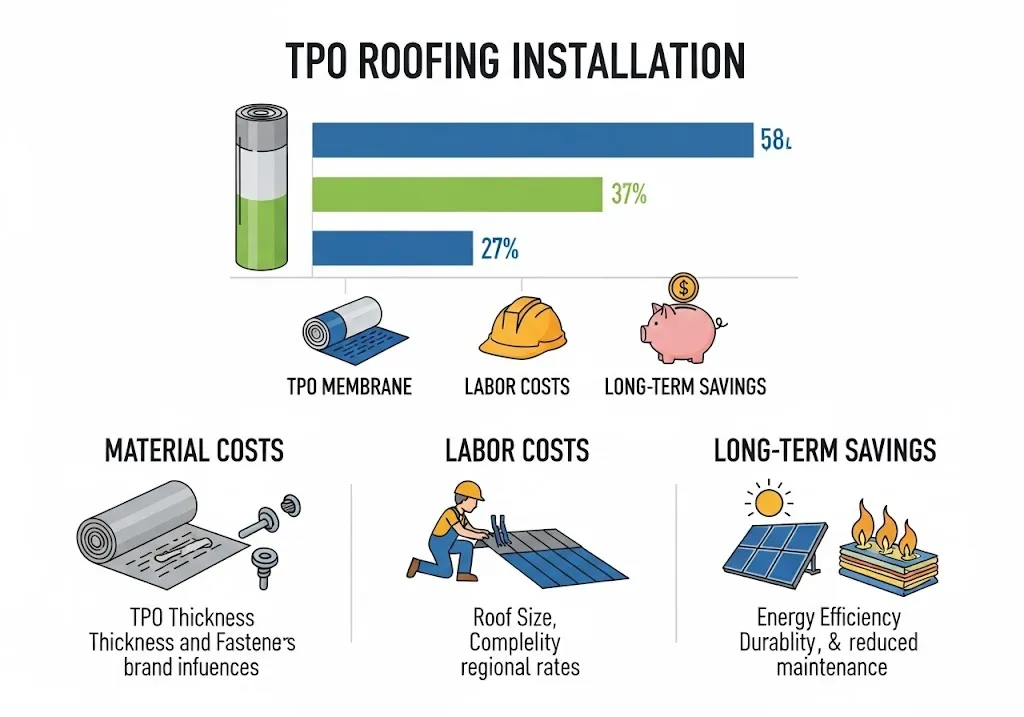
Several factors influence the total cost of installing TPO roofing:
- Roof size: Calculated per square foot of coverage area
- Insulation requirements: Type and thickness of insulation boards
- Attachment method: Mechanically fastened vs. fully adhered systems
- Complexity: Number of penetrations and detail work required
- Location: Regional labor costs and material availability
While TPO roofing represents a significant investment, its cost-effectiveness becomes apparent through reduced energy costs, minimal maintenance requirements, and long service life.
How to Install TPO Roofing
Learning how to install TPO roofing system components requires careful planning, proper materials, and skilled execution to achieve optimal results. This type of single-ply membrane roofing offers excellent value for commercial buildings through its combination of durability, energy efficiency, and cost-effectiveness.
While understanding how to apply TPO roofing techniques is valuable for property owners, working with qualified roofing professionals ensures your new TPO roof meets all performance expectations and warranty requirements. The investment in professional installation pays dividends through decades of reliable, low-maintenance protection.
FAQs About TPO Roofing Installation
How long does TPO roofing installation take?
TPO roofing installation typically takes 2-5 days for average commercial buildings, depending on roof size, complexity, and weather conditions. Larger or more complex projects may require additional time for proper completion.
Can I install TPO roofing myself, or should I hire a contractor?
While some experienced individuals may attempt DIY installation, hiring a professional roofing contractor is strongly recommended. Proper seam welding requires specialized equipment and training, and improper installation can void manufacturer warranties.
How do I maintain my TPO roofing membrane?
Regular maintenance includes semi-annual inspections, keeping drains clear, checking seam integrity, and addressing minor issues promptly. Professional annual inspections help identify potential problems before they become costly repairs.
What is the typical lifespan of a TPO roof?
A properly installed and maintained TPO roofing system typically lasts 20-30 years. Factors affecting longevity include installation quality, maintenance practices, weather exposure, and building usage patterns.
Is TPO roofing a good option for commercial buildings?
Yes, TPO roofing is an excellent choice for commercial buildings due to its energy efficiency, durability, cost-effectiveness, and ease of installation. It performs well in various climates and provides reliable long-term protection for commercial properties.