
When it comes to reliable roofing options for flat and low-slope surfaces, torch down roofing installation stands out as one of the most effective solutions available today. This comprehensive guide will walk you through everything you need to know about how to install torch down roofing, from understanding the materials to calculating project costs and ensuring proper application techniques.
Understanding Torch Down Roll Roofing
Torch down roofing is a specialized roofing material that consists of modified bitumen membranes designed specifically for flat roofs and low-slope applications. This type of roof utilizes SBS (styrene-butadiene-styrene) modified bitumen or APP (atactic polypropylene) compounds that create a flexible, waterproof seal when properly installed.
The roofing membrane features a lower melting point than traditional APP materials, making it easier for roofing professionals to work with during installation. The torch down roofing material comes in rolls that are applied using an open-flame propane torch, which melts the bottom surface of the membrane to create a strong bond with the roof deck or base layer.
Modified bitumen roofing systems like torch down provide excellent protection against water damage while offering superior durability compared to many other roofing materials. The bitumen membrane creates multiple layers of protection, with each layer contributing to the overall performance and lifespan of a torch down roof system.
Types of Torch Down Roofing Systems
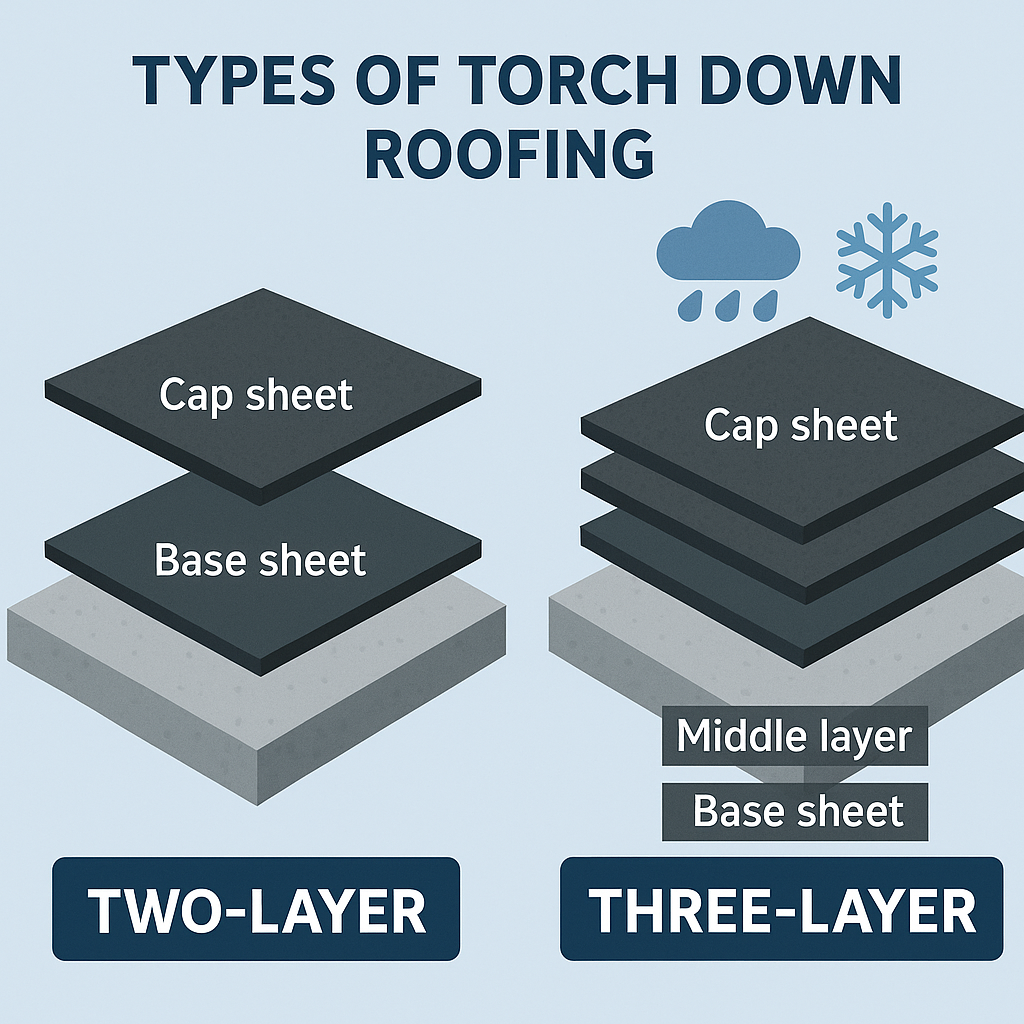
Understanding the two main types of torch down roofing systems is crucial for determining the best approach for your specific project. Each system offers distinct advantages depending on your building’s requirements and local climate conditions.
Two-Layer Torch Down Roof Systems
A two-layer torch down roof consists of a base sheet and a granulated cap sheet. This system is less expensive than three-layer alternatives while still providing excellent water resistance and durability. The base sheet is typically attached with screws and plates to the roof deck, followed by the cap sheet application using the torch method.
Three-Layer Torch Down Roof Systems
Three-layer roof systems include an additional middle layer between the base and cap sheets, creating enhanced protection against water infiltration. This three-layer torch down roof configuration is best for slightly pitched roofs in areas with extreme weather conditions. While the initial cost to install is higher, the extended lifespan of a torch down roof with three layers often justifies the additional investment.
The three-layer system prevents water from collecting in vulnerable areas and reduces the possibility for water to get trapped between membrane layers. This configuration is particularly effective for commercial buildings and residential properties in regions with heavy rainfall or snow loads.
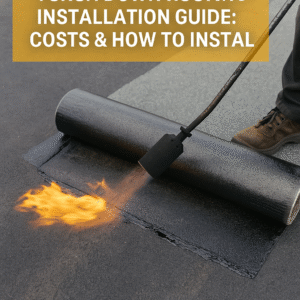
How to Install Torch Down Roofing
Learning how to do torch down roofing requires careful attention to safety protocols and proper technique. The installation process involves several critical steps that must be completed in sequence to ensure optimal performance and longevity.
Step 1: Clean and Prepare the Roof Surface
Begin the torch roofing installation by thoroughly cleaning the entire roof surface. Remove all debris, dirt, and existing roofing materials if necessary. Inspect the roof deck for any damage or structural issues that need addressing before proceeding with the installation.
The existing roof surface must be completely dry and free from moisture to ensure proper adhesion of the torch down roofing membrane. Any loose materials or protruding nails should be secured or removed to create a smooth, stable foundation for the new roofing system.
Step 2: Attach Insulation (If Needed)
For projects requiring additional thermal protection, install rigid insulation boards over the roof deck. The insulation should be attached with screws and plates, ensuring even coverage across the roof size. This step is particularly important for energy efficiency and preventing condensation issues.
When installing insulation, pay special attention to features that penetrate the roof, such as vents, pipes, and HVAC equipment. Proper insulation placement around these penetrations is essential for maintaining the thermal barrier and preventing air infiltration.
Step 3: Apply the Moisture Barrier
Install a moisture barrier over the insulation or directly onto the roof deck if no insulation is required. This barrier provides an additional layer of protection against water infiltration and helps create a stable base for the torch down roofing material.
The moisture barrier should overlap at seams by at least 6 inches and be properly sealed to prevent any gaps that could allow water penetration. This step is crucial for the long-term performance of the roofing system.
Step 4: Lay Down Overlay Board
Place overlay boards over the moisture barrier to create a smooth, even surface for the torch down membrane application. These boards help distribute loads evenly and provide additional protection for the underlying layers.
Ensure that overlay boards are properly secured and that joints are staggered to prevent weak points in the roofing system. The top of the base preparation should be level and free from any irregularities that could affect membrane installation.
Step 5: Install Base Sheet with Torch
The base sheet installation marks the beginning of the actual torch down process. Unroll the base sheet across the prepared surface, allowing for proper overlap at seams. Use a torch to heat the underside of the membrane while carefully rolling it into place.
Maintaining proper torch technique is essential for achieving optimal adhesion without overheating the material. The flame should create a consistent melt pattern along the membrane edge, ensuring complete bonding with the substrate below.
Step 6: Install Cap Sheet
Apply the granulated cap sheet over the base layer using the same torch-down technique. The cap sheet provides UV protection and energy efficiency while creating the final waterproof barrier. Proper overlap and sealing at all seams are critical for preventing water infiltration.
When installing the cap sheet, pay particular attention to transitions, penetrations, and roof edges where additional sealing may be required. The granulated surface should face upward to provide maximum protection against UV rays and weather exposure.
Step 7: Seal Edges and Flashing
Complete the installation by properly sealing all edges and installing flashing around penetrations, walls, and other roof features. This step prevents water from collecting in vulnerable areas and ensures the integrity of the entire roofing system.
Flashing installation requires careful attention to detail, as these areas are most susceptible to leaks if not properly sealed. Use compatible materials and follow manufacturer specifications for all flashing applications.

Tips for Safe and Efficient Torch Roofing Installation
Working with an open flame requires strict adherence to safety protocols. Always have fire extinguishing equipment readily available and work in teams to monitor for potential hazards. Proper ventilation is essential when working with bitumen materials to avoid inhaling fumes.
Weather conditions play a crucial role in installation success. Avoid torch down roofing installation during windy conditions or when rain is expected. Optimal installation occurs during dry, calm weather with moderate temperatures.
How to Apply Torch Down Roofing Correctly
The proper application technique for torch down roofing involves maintaining consistent heat levels while ensuring complete membrane adhesion. Use a torch to create an even melt line along the membrane edge, being careful not to overheat the material, which can cause damage or poor adhesion.
Components of a torch down roofing system must work together seamlessly to provide optimal performance. Each layer serves a specific purpose, from the base sheet that bonds to the substrate to the cap sheet that provides weather protection.
Torch down roofing consists of precisely engineered materials that require specific installation techniques. The modified bitumen roofing membrane responds to heat in a controlled manner, allowing for strong adhesion when proper temperature and application speed are maintained.
Benefits of Torch Down Roofing
Torch down roofing provides numerous advantages that make it an excellent choice for both commercial and residential applications. Understanding these benefits helps property owners make informed decisions about their roofing investments.
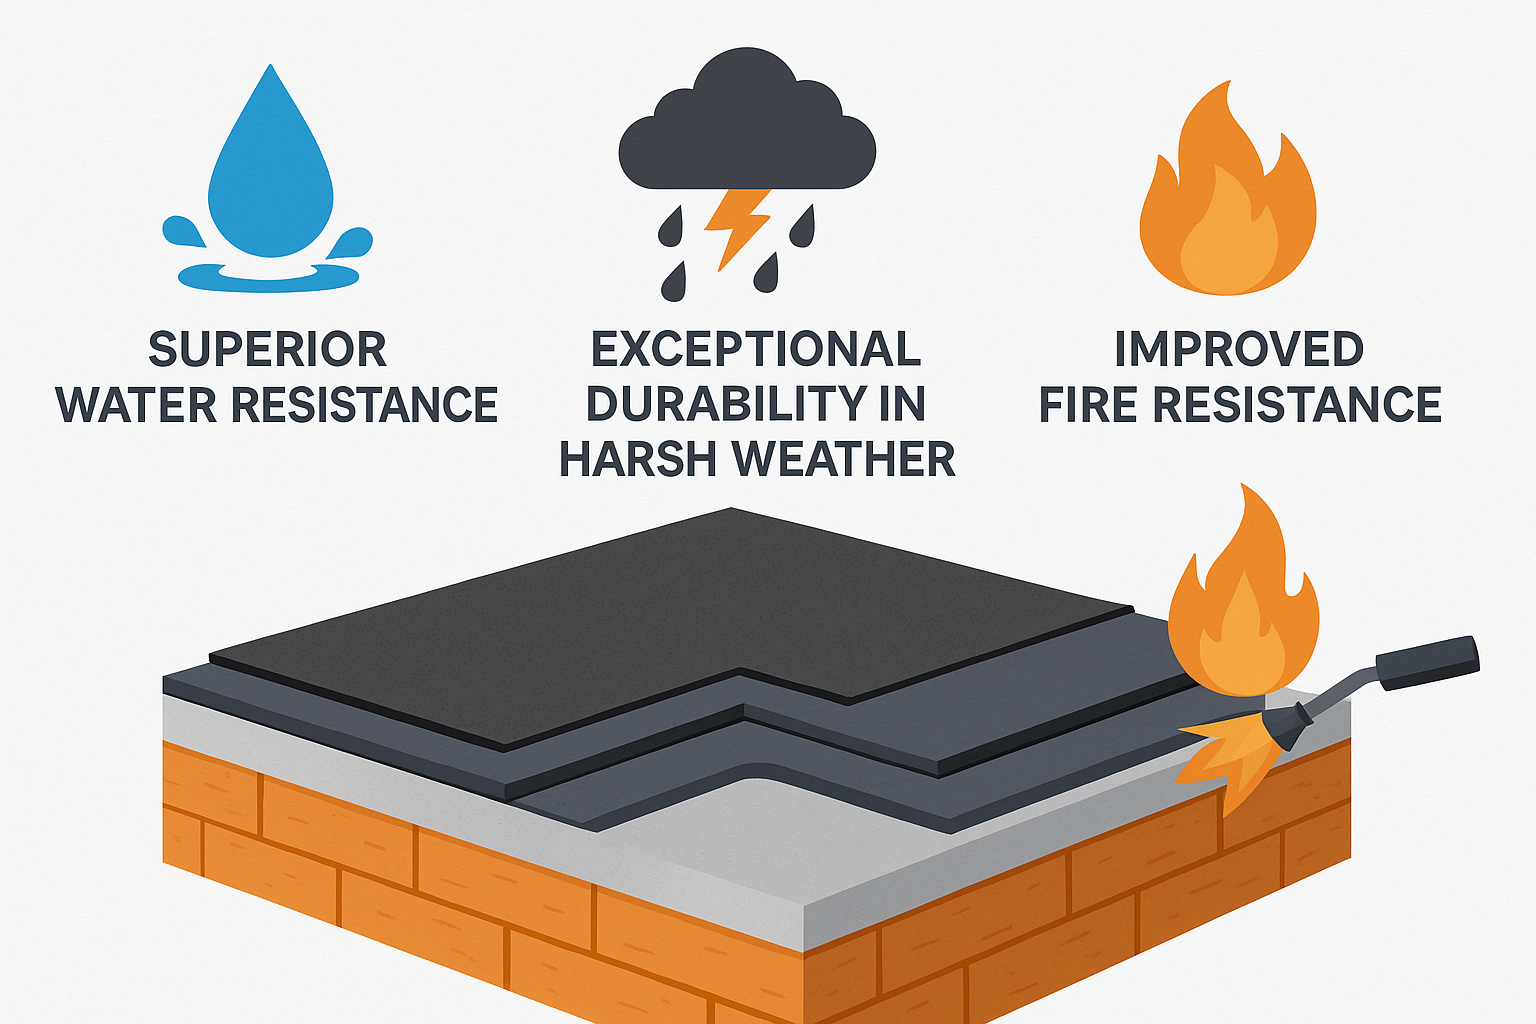
Excellent Water Resistance
The primary advantage of torch down roofing is its superior water resistance. The seamless membrane application creates a continuous barrier that prevents water infiltration, even in ponding conditions common on flat roofs.
The waterproof seal created during installation remains flexible throughout temperature variations, preventing cracking and separation that can lead to leaks. This flexibility is particularly important in climates with significant temperature fluctuations.
UV Protection and Energy Efficiency
The granulated cap sheet surface reflects UV rays and provides excellent protection against sun damage. This UV protection extends the lifespan of the roofing system while contributing to improved energy efficiency for the building below.
Torch down roofing works well in conjunction with proper insulation to create energy-efficient roofing systems that can reduce heating and cooling costs. The reflective surface helps maintain comfortable interior temperatures year-round.
Durability in Harsh Weather
Torch down roofing requires minimal maintenance while providing exceptional durability in harsh weather conditions. The multi-layer construction withstands high winds, hail, and extreme temperature variations better than many alternative roofing materials.
The roofing material’s flexibility prevents cracking during freeze-thaw cycles, making it ideal for regions with significant seasonal temperature changes. This durability translates to longer service life and reduced maintenance costs.
Low Maintenance and Easy Repairs
When roof repair becomes necessary, torch down systems are relatively easy to repair compared to other roofing types. Small areas can be patched using the same torch-down technique, creating seamless repairs that blend with the existing membrane.
The roofing is also easy to inspect and maintain, as the membrane surface clearly shows any areas requiring attention. Regular maintenance helps ensure the 15 to 20 years typical lifespan of properly installed torch down roofing systems.
Fire Resistance and Safer Fumes
Modern torch down roofing materials offer improved fire resistance compared to older bitumen roofing systems. The modified bitumen formulation provides better fire ratings while producing fewer harmful fumes during installation.
Cost of Torch Down Roofing Installation
Torch down roofing costs vary depending on several factors, including roof size, system complexity, and regional labor rates. Understanding these cost factors helps property owners budget effectively for their roofing projects.
The cost to install torch down roofing typically ranges from $3 to $8 per square foot for materials and labor combined. Two-layer systems fall on the lower end of this range, while three-layer torch down roof systems command higher prices due to additional materials and labor requirements.
Factors Affecting Project Cost:
– Roof Size: Larger roofs benefit from economies of scale, reducing per-square-foot costs
– System Type: Three-layer systems cost more than two-layer alternatives
– Roof Complexity: Multiple penetrations and complex shapes increase labor costs
– Regional Variations: Local demand for torch down roofing services affects pricing
– Seasonal Factors: Installation timing can impact both material and labor costs
To save on torch down roofing expenses, consider scheduling installation during slower periods when contractors may offer competitive pricing. Obtaining multiple quotes from certified roofing professionals ensures competitive pricing while maintaining quality standards.
Why Choose Roofing San Jose for Torch Down Roofing
Selecting the right roofing company for your torch down installation is crucial for achieving optimal results and long-term performance. Professional installation ensures proper technique and adherence to manufacturer specifications.
Experienced Licensed Roofers in San Jose
Our team of experienced licensed roofers brings years of expertise to every torch down roofing project. We understand the unique challenges of installing torch down roofing in the San Jose climate and have developed proven techniques for optimal results.
Working with certified roofing professionals ensures that your installation meets all local building codes and manufacturer requirements. Our expertise with modified bitumen systems guarantees proper installation techniques and long-lasting results.
Trusted Local Contractor with Excellent Reviews
As a local roofing contractor in your area, we understand the specific needs of San Jose property owners. Our excellent reviews reflect our commitment to quality workmanship and customer satisfaction on every project.
Our local presence means we’re available for ongoing maintenance and support throughout the life of your roofing system. We stand behind our work with comprehensive warranties and responsive service when you need it most.